Steps to creating a maze.
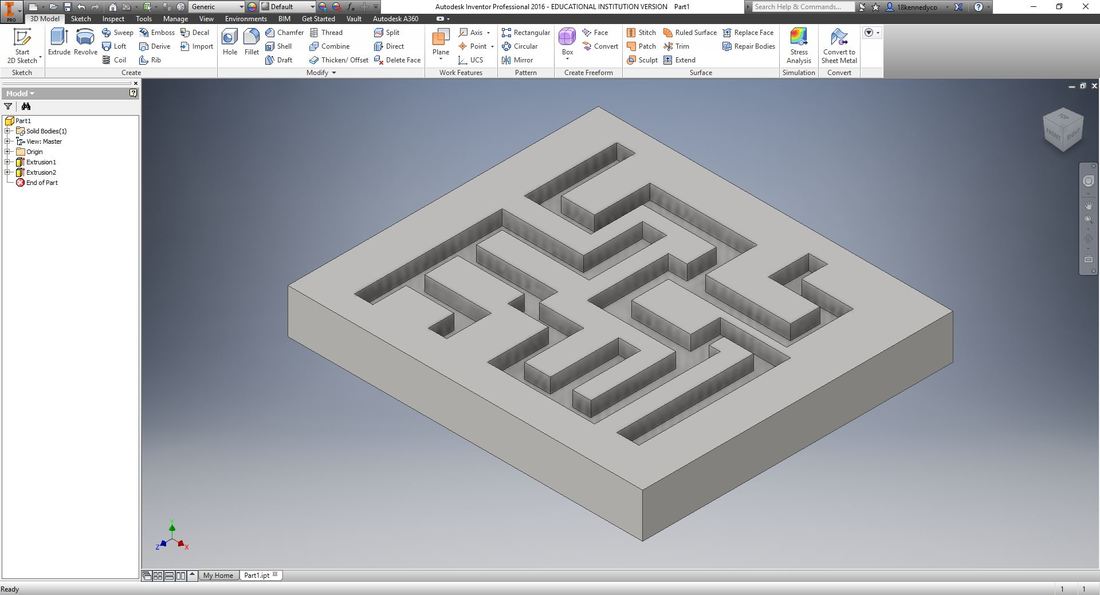
Step 1: Make a design. I went with a more traditional square maze that is simple and effective. REMEMBER: Each path must be .250 inches wide
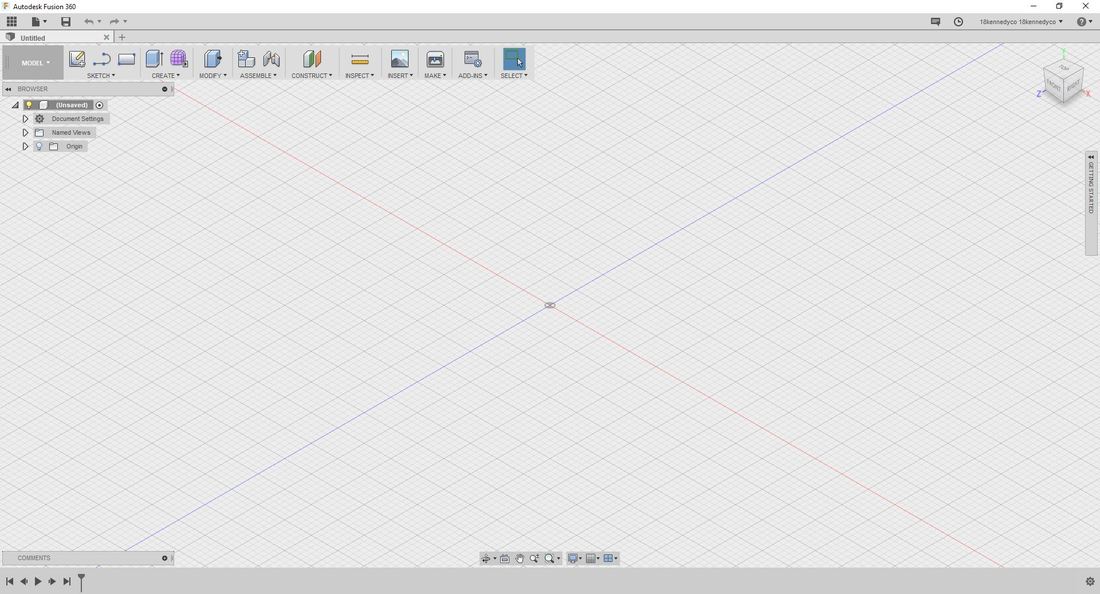
Step 2: Save your file in inventor and open up fusion 360. You should start with a screen like this
Next click the 9 square box in the upper left hand corner
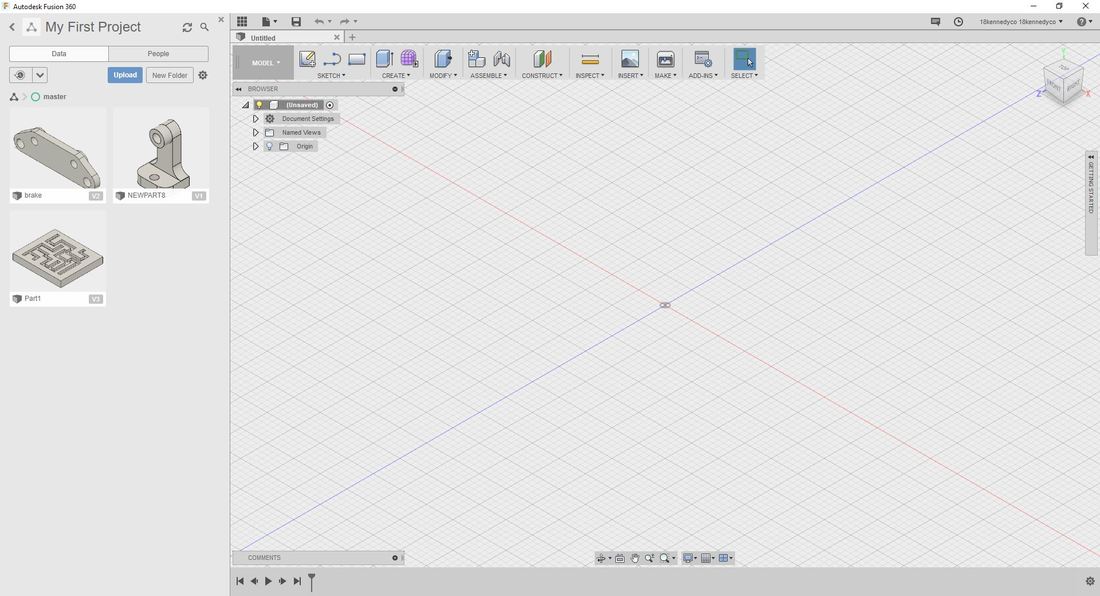
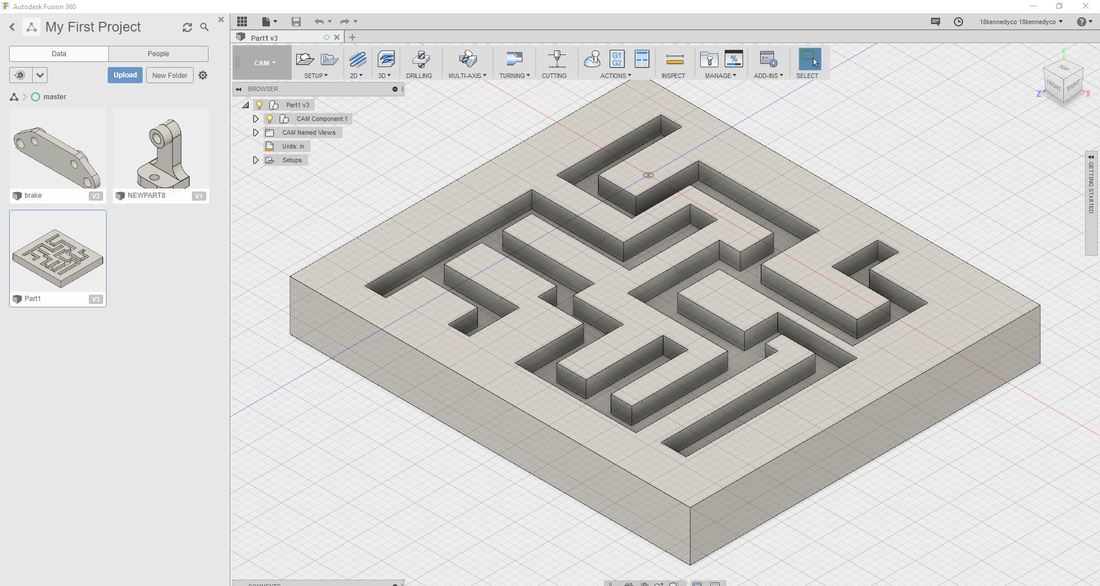
Now click the upload button and find your file to send it into fusion 360. After it has finished uploading, double click it and it should look something like this:
DON'T FORGET TO CHANGE UNITS TO INCH!
DON'T FORGET TO CHANGE UNITS TO INCH!
Step 3: Select setup and start a new set up, choose fixed box size and set up X-Y-Z so that the x axis goes the long way of your project, and the z axis faces up. Set the stock to a fixed box and the dimensions should be 11x8.5 with a height of 0.75
Step 4: Set the toolpath and get the right router bit input I Used a 1/4 flat end mill for my project
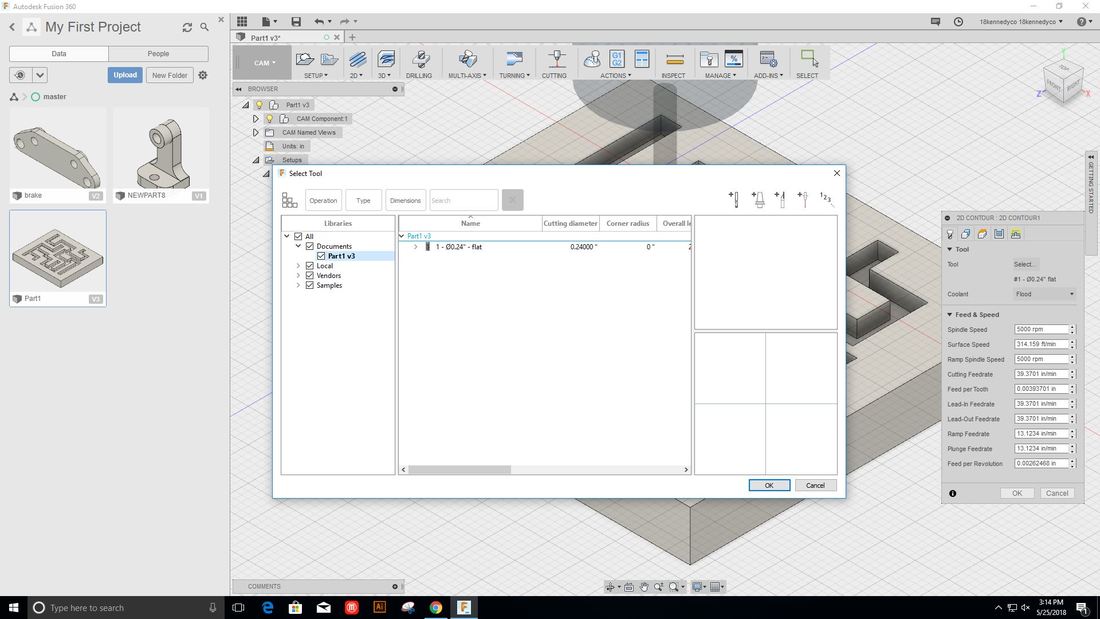
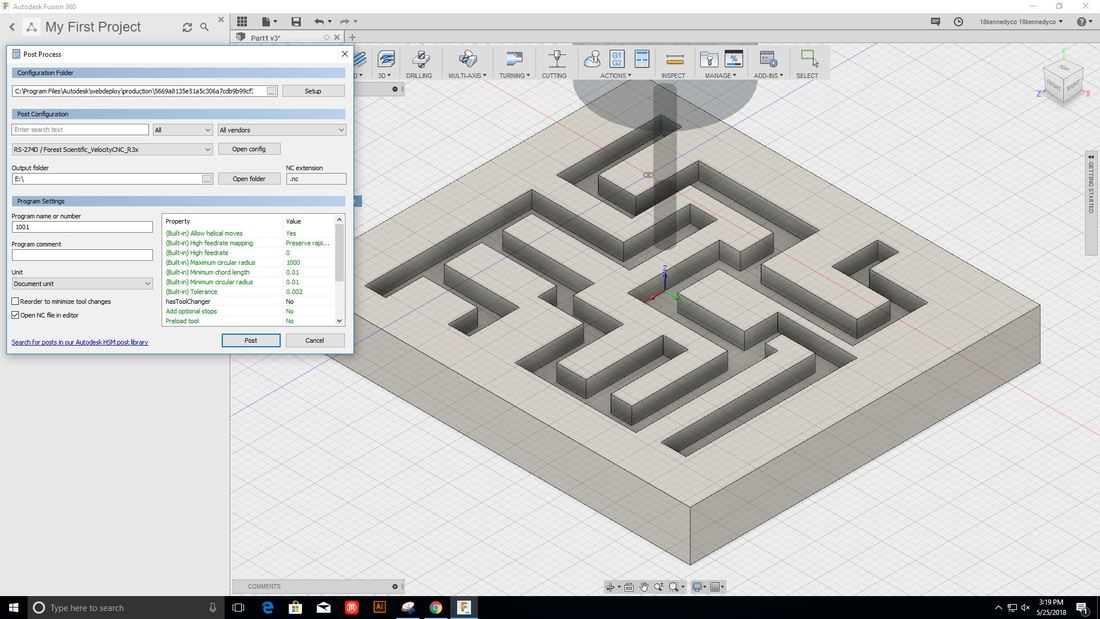
Once you have your toolpath and router bit in, you are going to want to simulate the rout so you can make sure it will actually cut. After that you will want to generate the G-code for the router. Make sure you have forest scientific cnc chosen and the click post
Step 5: Get everything set up for the router: Put double sided tape on the bottom of your foam, stick it to the router bed, line up the bit, and zero each axis and hit start!

After it has finished, take it out of the bed, remove the tape and enjoy!
